 Now that I am of a “well-seasoned” age, I like to reflect back upon the “good old days”. The days when a recording studio covered a city block that sold for millions. An audio mixing board was 8 feet long and cost hundred of thousands. The only way to get a voice over gig was through an agent. You had to take a full day to travel to and from said recording studio to do the session. Oh…I forgot. Most of those who will read this have no idea what I am talking about. Things drastically changed in the middle 90’s.
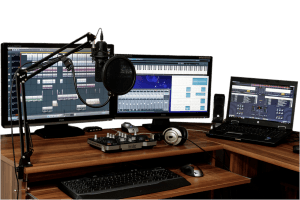
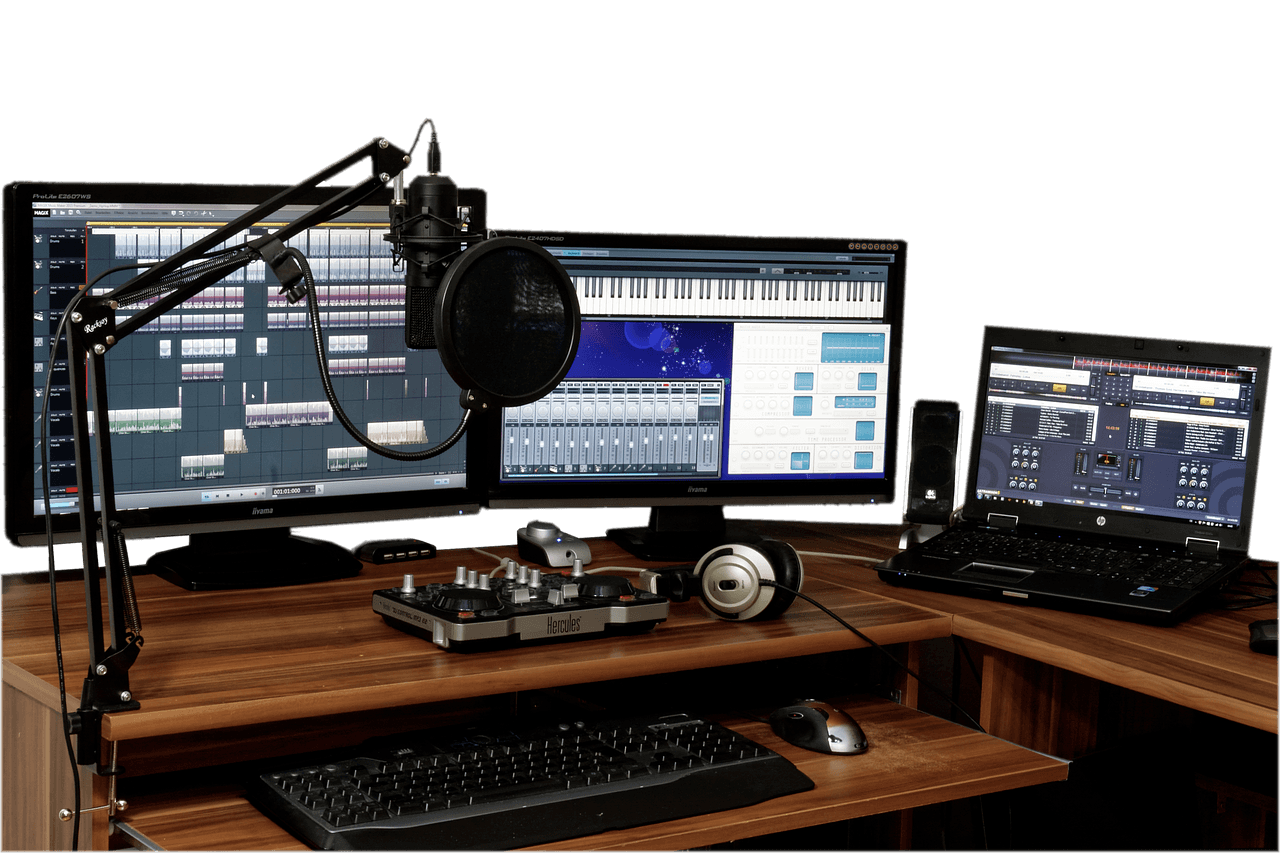
Thanks to digital technology and the internet, the typical recording studio for the voice actor now consists of a laptop, some software, an affordable microphone and a little audio interface that ties it all together. And the session is done at home in your closet, or in the corner of a bedroom.
And you paid much less for your entire house than that audio mixing board I mentioned.
The simplicity and affordability of digital recording equipment has played an important role in the enormous growth of the voice over industry in the past 20 years. But the same principal that it takes more than a good voice to be a successful voice actor holds true with your personal recording studio. Just because it is moderately priced and significantly more simple doesn’t mean it is less important. Fact is, your personal studio should not even start with equipment. It starts with your recording “space”.
I once heard someone say that you can put a $200 microphone in a good acoustic space and it will sound better than a $1000 microphone in a bad acoustic space. True dat! Before buying any equipment at all, the very first thing I suggest to my mentoring and coaching students is to identify a location in their home that can be designated as their personal studio. Closets work great. Corners located in the interior of the home will do. You want to choose the place that naturally allows the least amount of outside noises as possible. That weed-eater will drive you nuts!
Next you need to acoustically treat that space. I am personally fond of acoustic blankets for personal studios. They are moderately priced. Cover a lot of area. They are aesthetically pleasing. And they were designed specifically for what you are trying to accomplish. Foam is good. There are many choices from inexpensive mattress padding to beautifully designed acoustic foam. The latter can be pricey. You also want to round out 90 degree angles. Corners are bad at bouncing frequencies. A great finishing touch is to create uneven walls.
Once you have your acoustic space ready, its time to get your equipment. Here is exactly what you need (assuming you already have a computer).
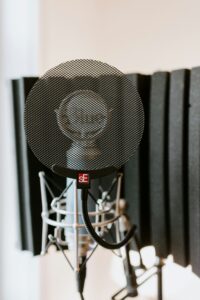
1) A professional quality condenser microphone.
2) An audio interface. This is a unit that changes the analog signal of your voice into digital waves that can be read by your computer and software.
3) A set of professional studio headphones. You do not want Dr. Dre’s or noise canceling headphones.
4) A pop screen. I personally advise getting the “screen” rather than a pop “filter” that fits over the microphone. The screen looks like thin nylon stretched between two plastic rings.
5) A microphone stand. Any stand that makes you comfortable will do. When it comes time to buy equipment there are several brands that offer complete bundles for affordable prices.
Finally, you need a Digital Audio Workstation or DAW. This is your recording software. These come in all sizes, shapes, colors and prices. Excellent DAWS for a novice are Audacity (this is free), Twisted Wave and Adobe Audition.
Believe it or not, everything I have talked about is the easy part. The greatest challenge I have experienced with students is achieving the proper db levels. For the beginner, “volume” is rated in decibels or db’s. If you look in your DAW you will find two meters. One is an output meter and the other is an input meter. These show you your levels. Your finished and mastered recording should maintain an RMS of -3db. RMS is the average db level of your recorded voice.
Once you have achieved this, you need to see what db level your “Noise Floor” (NF) is. I like to say that the NF is comprised of two things. 1) Room Tone – the natural ambiance and frequency response of your room and 2) Electronic Hum – any single frequency electronic hum that might be heard on your recording. This could be RF, an A/C unit, a refrigerator motor, or the fan on your computer. Together the Electronic Hum and Room Tone make up your Noise Floor. Here is how to check your Noise Floor. Hit the record button with your microphone plugged in and turned on. Stand or sit very still and quiet and look at the output meter in your DAW. Notice if it shows any output level at all and note what decibel level it is. For most professional voice over jobs, you will want to achieve a maximum of -60 db Noise Floor. There are plugins available that will reduce the Noise Floor if it is too high.
Do not forget this. The quality of your recording is JUST AS IMPORTANT as your voice, your pace and your delivery. You can deliver a read that rivals all competitors but if the technical quality is not professional, you probably won’t hear back from the audition, much less get the job.
Best wishes and happy recording.
Bill Brooks is a 40+ year voice over veteran and provides voice over services to clients all over the world. He appears regularly in theatrical stage productions in the Dalls/Fort Worth area and is serving his second year as President of the Executive Board at Artisan Center Theater in Hurst, TX.