I’m just learning how to become a professional voice actor – do I need to become a professional sound engineer, too?!
Learning how all of this high-tech equipment and recording software works is daunting, especially when you’re early on in your voice-over journey and are trying to focus on those new skills. I’m hoping to ease some of this anxiety for you today.
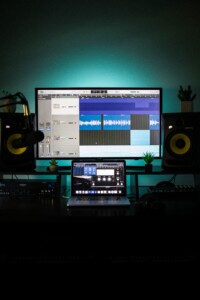
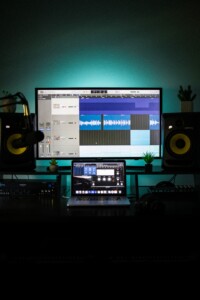
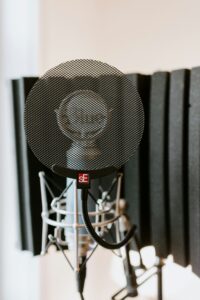
Luckily, the general rule with voice-over recordings is that the less processed the audio is, the better. Your primary focus should be on the space you’re recording in and the quality of the equipment itself. If you’re using a high quality microphone and your space is properly soundproofed – which can be achieved using any combination of soundproofing foam, heavy clothing, blankets, pillows, carpets, and more – then you’re probably not going to need to do any audio processing at all. This is for the best since most clients are going to ask for your raw audio. If you need help with the setup of your home studio, you may want to talk with a professional audio engineer who can help make sure your audio is clean, clear, and background-noise free. You can also connect with Such a Voice for help from their Home Studio Team!*
The advice I give for pretty much any and every voice-over related question is, “Did the client ask you to do or not do something to the audio?” If so, then follow what they say! If the client hasn’t mentioned anything about altering the audio, then the answer is always that they don’t want anything done.

When you’re auditioning, half of the audition is your voice-over technique, and the other half is the quality of your sound. The client wants to know if your booth is up to par, so you want to give them an audition that shows how exemplary your space is! Most clients will be able to tell if that audio is overprocessed. Make sure your audition quality is exactly the same as what you can give the client if they book you for the gig.
Ok, so when would you want to do a bit of audio editing?
Again, if the client is asking for something specific, of course you should follow their instruction. You’ll sometimes see requests to make sure your audio doesn’t peak above a certain decibel (dB) level, in which case you may want to normalize or compress your audio to that level. Typically, this will be -2.0 or -3.0. If you need to make this adjustment, you should notice that your audio levels don’t change drastically to fit this dB requirement. If you see a large spike or drop in the overall level of your audio, you may want to consider adjusting your microphone levels so that your raw recording is closer to this standard in the first place.
Another common adjustment people will make is to remove background noise. I’d actually advise against this sort of editing in most cases. Unless it’s done extremely gently so that it doesn’t end up impacting the sound quality of your voice, the better scenario here is that your recording space is already quiet and soundproofed enough to not have background noise in the first place.
To hammer the point home: your home studio sound quality should be your number one priority! You shouldn’t have to learn to do much audio engineering at all, beyond the occasional and minimal normalization/compression as long as your booth is quiet. No need to memorize all of the thousands of effects and filters in Audacity or similar software you’re using. Just make sure you have enough blankets in the booth!
* The Home Studio Team at SAV assists with voice-over students currently enrolled in an SAV training program.
Check out our free PDF with pro-tips from real working voice-over actors here!
Want to learn more about voiceover? Signup for our introductory VO webinar.


